More Real-World Uses for :has()
The :has() pseudo-class is, hands-down, my favorite new CSS feature. I know it is for many of you as well, at least those of you who took the State of CSS survey. The ability to write selectors upside down gives us more superpowers I’d never thought possible.
I say “more superpowers” because there have already been a ton of really amazing clever ideas published by a bunch of super smart people, like:
- Using
:has()as a CSS Parent Selector and much more by Jen Simmons - Quantity Queries for “islands of elements” with the same class, thanks to CSS
:has()by Bramus - Style a parent element based on its number of children by Bramus
- Using combinators in
:has()by Manuel Matuzović - 4 ways CSS
:has()can make your HTML forms even better by Austin Gil - Video: Practical Use Cases for
:has()Pseudo-Class by Zoran Jambor :has(): the family selector by Jhey Tompkins
This article is not a definitive guide to :has(). It’s also not here to regurgitate what’s already been said. It’s just me (hi 👋) jumping on the bandwagon for a moment to share some of the ways I’m most likely to use :has() in my day-to-day work… that is, once it is officially supported by Firefox which is imminent.
When that does happen, you can bet I’ll start using :has() all over the place. Here are some real-world examples of things I’ve built recently and thought to myself, “Gee, this’ll be so much nicer once :has() is fully supported.”
Avoid having to reach outside your JavaScript component
Have you ever built an interactive component that sometimes needs to affect styles somewhere else on the page? Take the following example, where <nav> is a mega menu, and opening it changes the colors of the <header> content above it.
I feel like I need to do this kind of thing all the time.
This particular example is a React component I made for a site. I had to “reach outside” the React part of the page with document.querySelector(...) and toggle a class on the <body>, <header>, or another component. That’s not the end of the world, but it sure feels a bit yuck. Even in a fully React site (a Next.js site, say), I’d have to choose between managing a menuIsOpen state way higher up the component tree, or do the same DOM element selection — which isn’t very React-y.
With :has(), the problem goes away:
header:has(.megamenu--open) {
  /* style the header differently if it contains
    an element with the class ".megamenu--open"
  */
}
No more fiddling with other parts of the DOM in my JavaScript components!
Better table striping UX
Adding alternate row “stripes” to your tables can be a nice UX improvement. They help your eyes keep track of which row you’re on as you scan the table.
But in my experience, this doesn’t work great on tables with just two or three rows. If you have, for example, a table with three rows in the <tbody> and you’re “striping” every “even” row, you could end up with just one stripe. That’s not really worth a pattern and might have users wondering what’s so special about that one highlighted row.
Using this technique where Bramus uses :has() to apply styles based on the number of children, we can apply tble stripes when there are more than, say, three rows:
What to get fancier? You could also decide to only do this if the table has at least a certain number of columns, too:
table:has(:is(td, th):nth-child(3)) {
  /* only do stuff if there are three or more columns */
}
Remove conditional class logic from templates
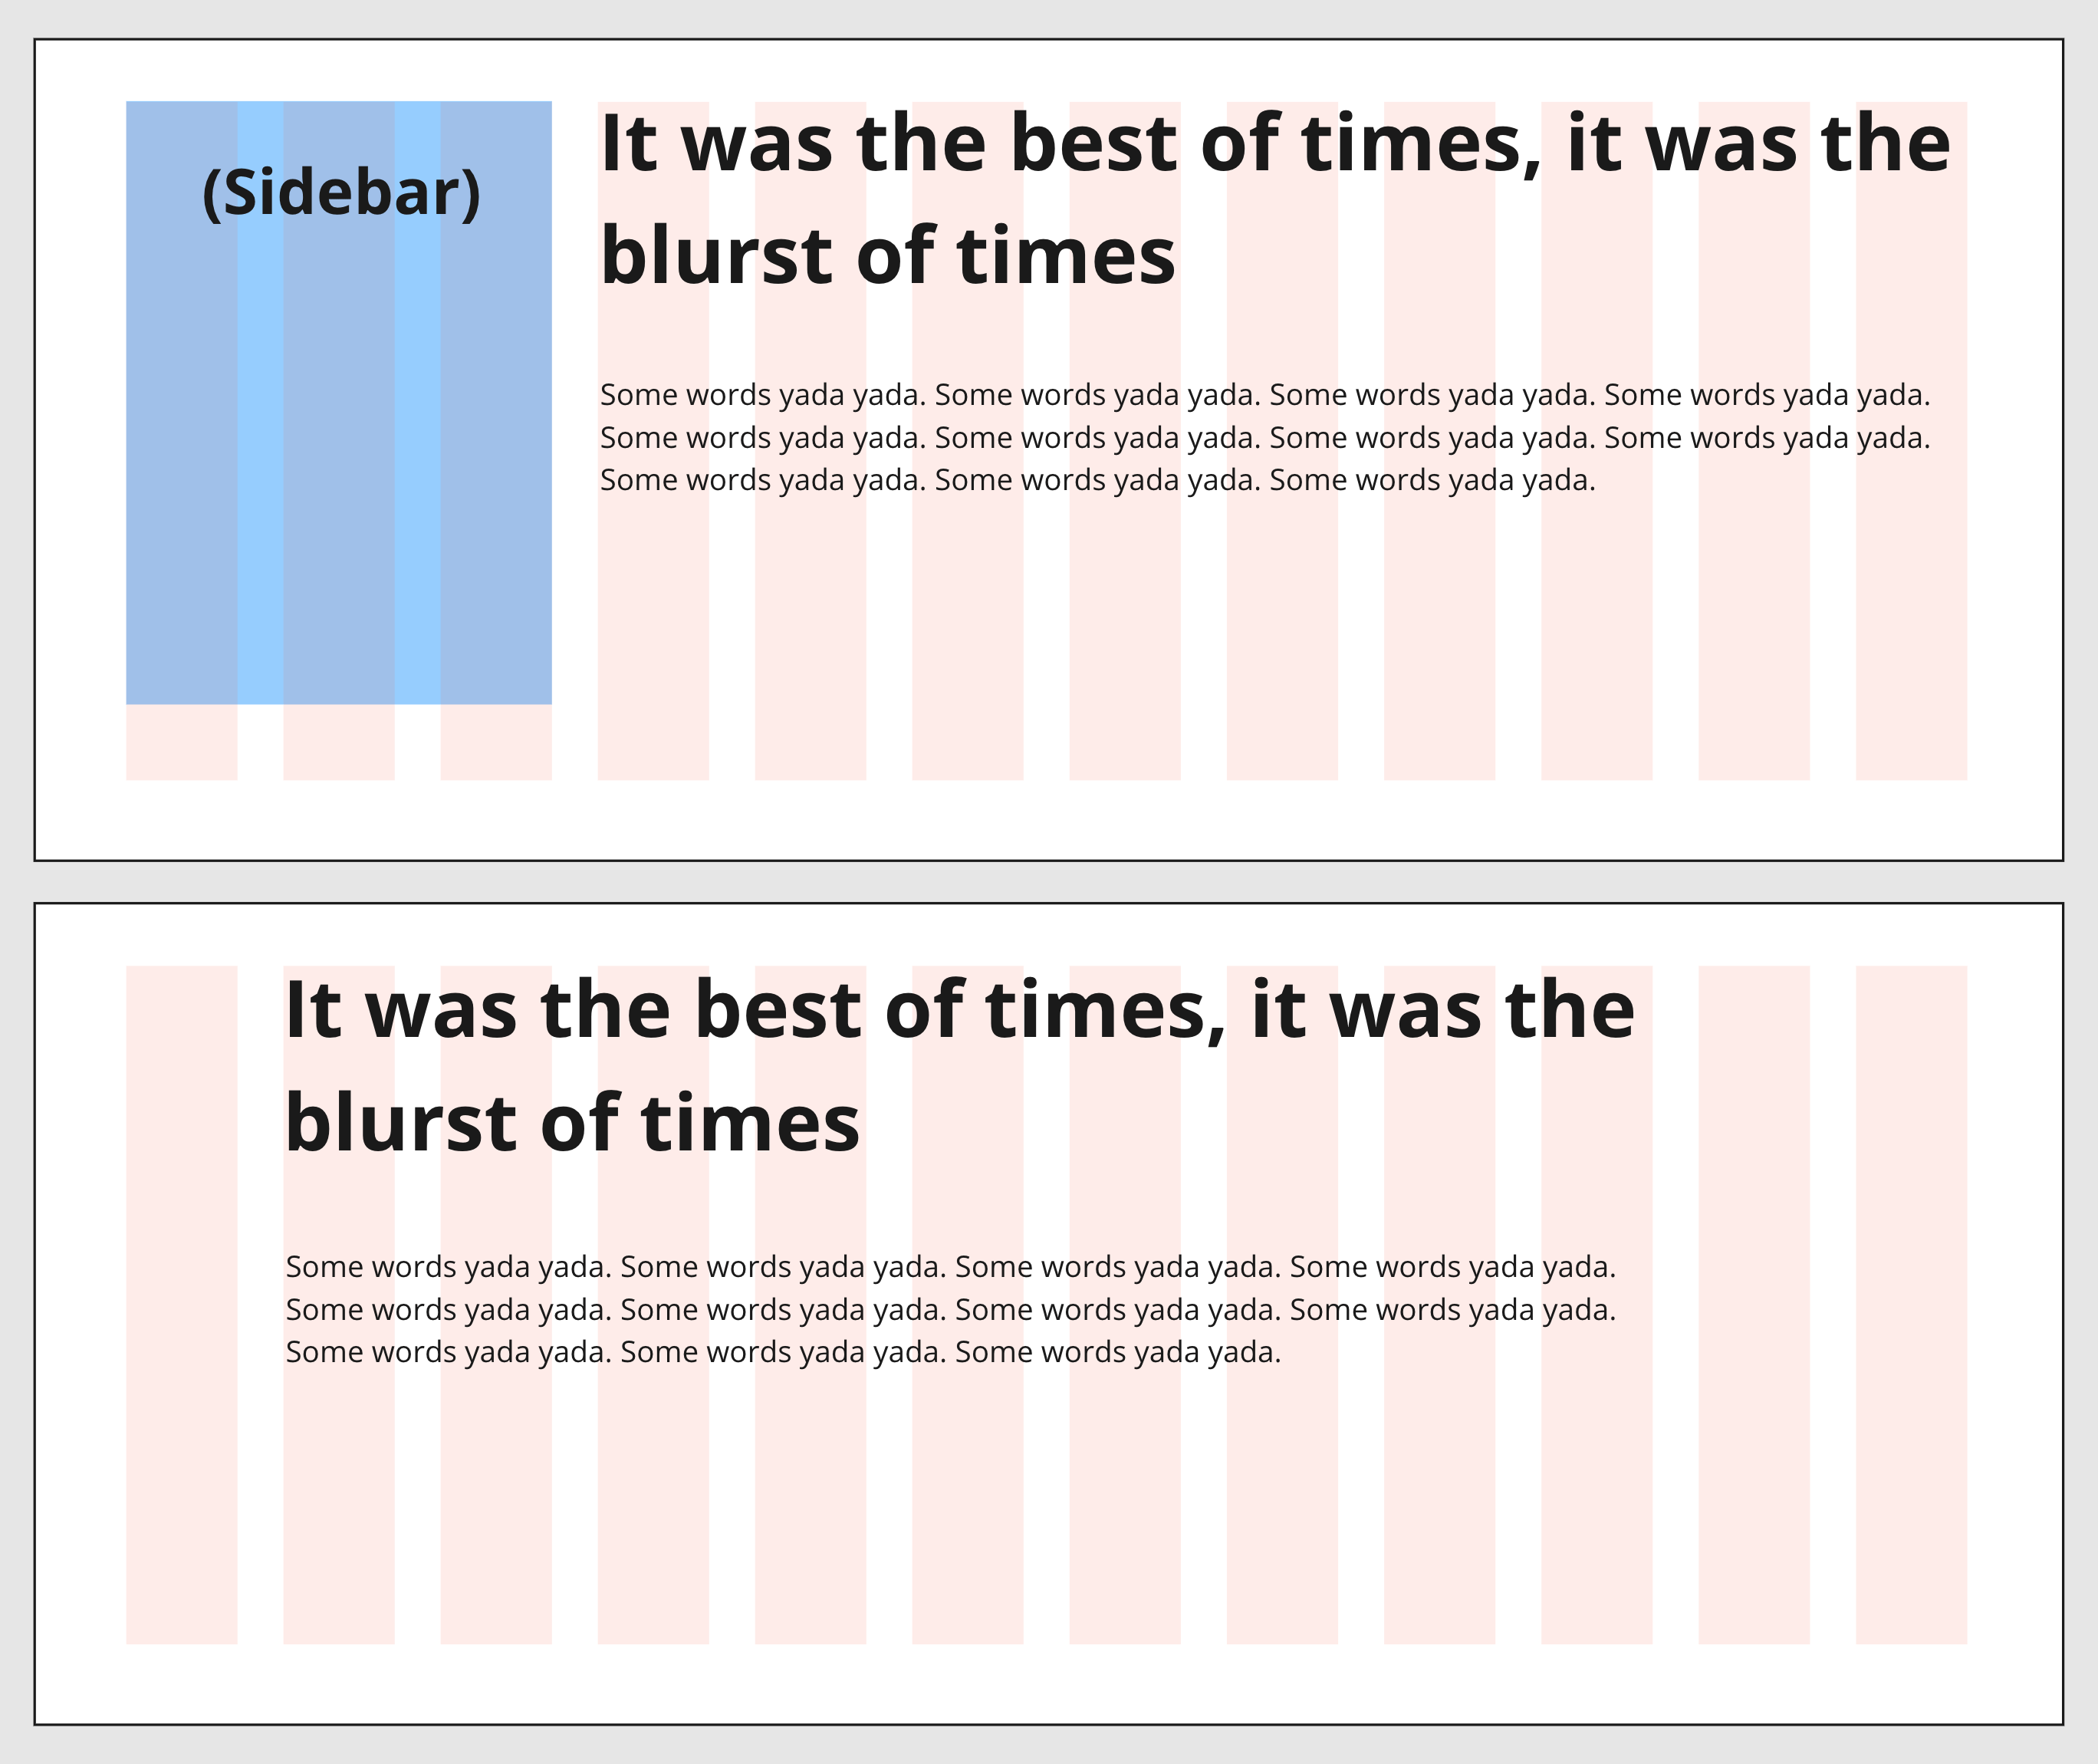
I often need to change a page layout depending on what’s on the page. Take the following Grid layout, where the placement of the main content changes grid areas depending on whether there’s a sidebar present.
That’s something that might depend on whether there are sibling pages set in the CMS. I’d normally do this with template logic to conditionally add BEM modifier classes to the layout wrapper to account for both layouts. That CSS might look something like this (responsive rules and other stuff omitted for brevity):
/* m = main content */
/* s = sidebar */
.standard-page--with-sidebar {
  grid-template-areas: 's s s m m m m m m m m m';
}
.standard-page--without-sidebar {
  grid-template-areas: '. m m m m m m m m m . .';
}
CSS-wise, this is totally fine, of course. But it does make the template code a little messy. Depending on your templating language it can get pretty ugly to conditionally add a bunch of classes, especially if you have to do this with lots of child elements too.
Contrast that with a :has()-based approach:
/* m = main content */
/* s = sidebar */
.standard-page:has(.sidebar) {
  grid-template-areas: 's s s m m m m m m m m m';
}
.standard-page:not(:has(.sidebar)) {
  grid-template-areas: '. m m m m m m m m m . .';
}
Honestly, that’s not a whole lot better CSS-wise. But removing the conditional modifier classes from the HTML template is a nice win if you ask me.
It’s easy to think of micro design decisions for :has() — like a card when it has an image in it — but I think it’ll be really useful for these macro layout changes too.
Better specificity management
If you read my last article, you’ll know I’m a stickler for specificity. If, like me, you don’t want your specificity scores blowing out when adding :has() and :not() throughout your styles, be sure to use :where().
That’s because the specificity of :has() is based on the most specific element in its argument list. So, if you have something like an ID in there, your selector is going to be tough to override in the cascade.
On the other hand, the specificity of :where() is always zero, never adding to the specificity score.
/* specificity score: 0,1,0.
  Same as a .standard-page--with-sidebar
  modifier class
*/
.standard-page:where(:has(.sidebar)) {
  /* etc */
}
The future’s bright
These are just a few things I can’t wait to be able to use in production. The CSS-Tricks Almanac has a bunch of examples, too. What are you looking forward to doing with :has()? What sort of some real-world examples have you run into where :has() would have been the perfect solution?
More Real-World Uses for :has() originally published on CSS-Tricks, which is part of the DigitalOcean family. You should get the newsletter.
- 0 Comment